Prices on this page come from our price tracker, and each price is dated where it appears.
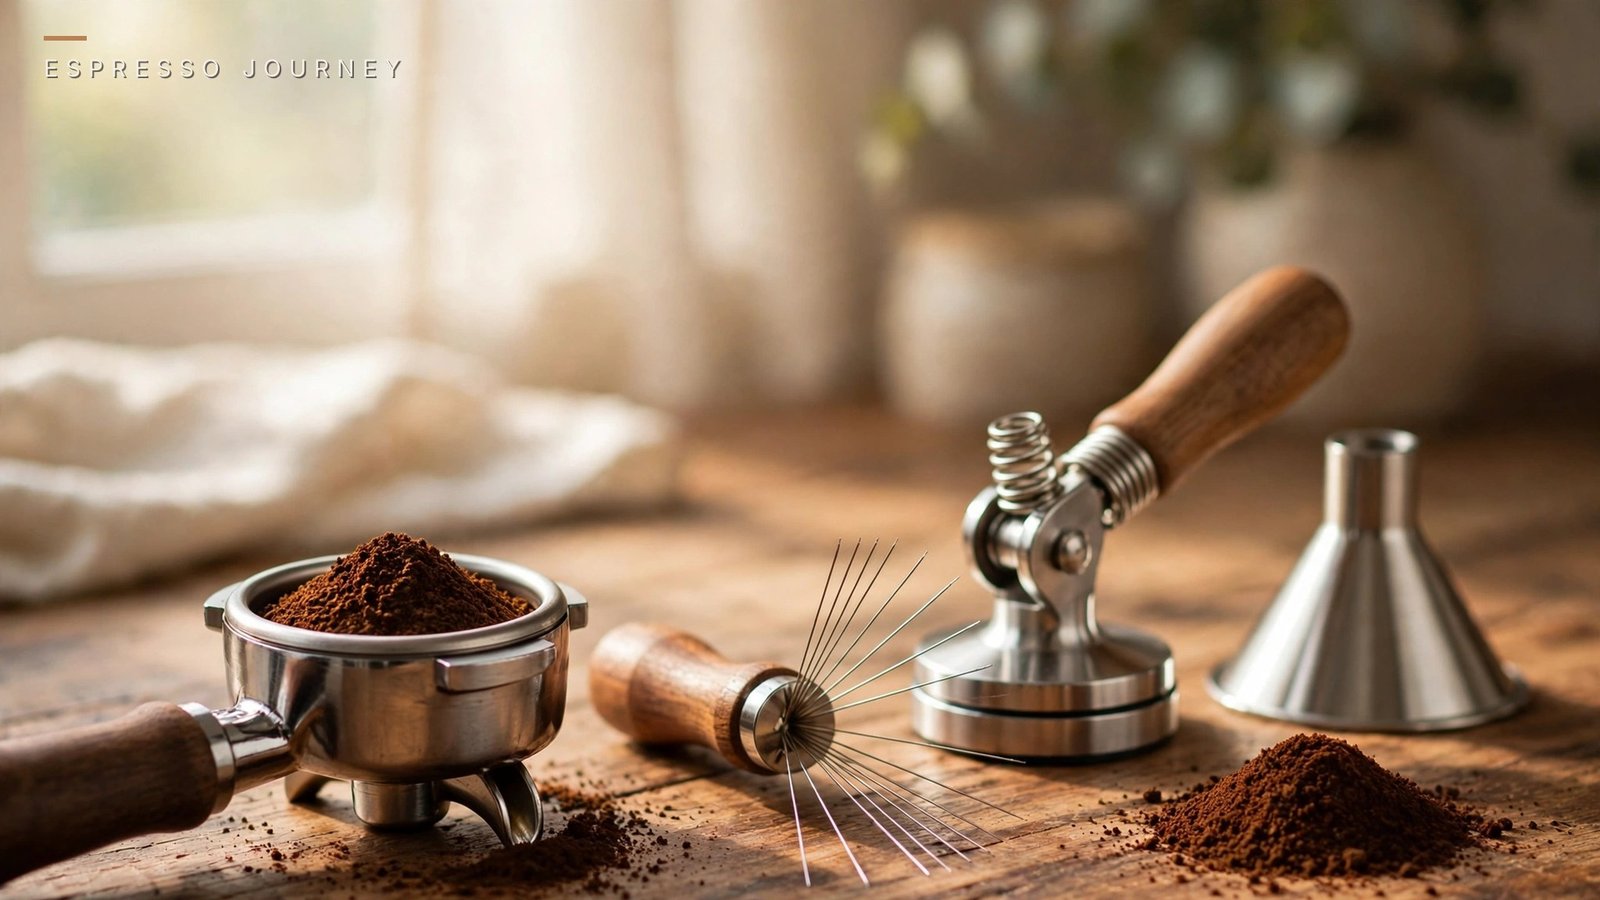
The short answer: puck prep is the minute between grinding and brewing — weigh your dose, stir the grounds with a fine-needle WDT tool, level the bed, tamp flat once, clean the rim, and brew right away. Same order, same way, every shot. That gives water an even path through the coffee, which stops most channeling before it starts. About 30 to 60 seconds once it is habit.
Key points
- Puck prep has one job: even density, edge to edge and top to bottom, before water arrives.
- The order is fixed — dose, WDT, level, tamp, clean the rim, brew. Tamping locks in unevenness; it cannot fix it.
- WDT needs thin needles (0.3–0.4 mm), worked deep and slow. A spinning leveler only smooths the top 2–3 mm.
- The famous “30 pounds of tamp pressure” is a 1990s café convention, not a measured optimum. Level and repeatable beats hard.
- Buy a funnel, a WDT tool, and a tamper that fits your basket first. A puck screen can wait.
What puck prep actually does
Espresso is water forced through finely ground coffee at about 9 bar, and water takes the easiest path. If one part of the puck is denser than another, water rushes through the loose part and barely touches the dense part. The loose part over-extracts (bitter), the dense part under-extracts (sour), and both faults land in the same cup. That is channeling, the taste that breaks beginners: sour and bitter at once. Our guide to what channeling is has the full picture.
Puck prep removes that unevenness before the water arrives: a well-prepped puck is the same density everywhere, so water moves through it at the same speed everywhere.
Two honest limits. Puck prep cannot fix stale beans, a wrong grind, or a wrong dose — and it is the middle of the chain, not the whole chain. Grind and dose still decide most of what you taste; our dialing-in guide covers those. What prep buys you is consistency.
Contents
The routine, step by step
| Step | What to do | About how long |
|---|---|---|
| 1. Dose | Weigh your dose into a clean, dry basket — about 18 g on the common double. | 10 seconds |
| 2. WDT | Stir the grounds with fine needles, deep and slow, from the wall inward. | 10–15 seconds |
| 3. Level | Settle the bed with a light tap or a leveler so the surface is flat. | 5 seconds |
| 4. Tamp | Press straight down once, level and firm, then lift straight up. | 5 seconds |
| 5. Clean and brew | Brush grounds off the rim, lock in, and start the shot right away. | 5 seconds |
The whole sequence runs about 30 to 60 seconds once practised.
1. Dose into a clean, dry basket
Start with the basket dry and empty — leftover water or old grounds create weak spots, and a cold portafilter steals heat, so wipe the basket dry and run a blank shot first if the portafilter has been sitting out. Weigh your dose: the basket’s rated weight, about 18 g on the common double. Baskets span roughly 14–22 g, so dose follows the basket in your hand. A 0.1 g scale is the only tool here that is genuinely non-negotiable — a gram or two changes how a shot runs, and you cannot see it.
Grind into the basket or a dosing cup: either way the grounds arrive unevenly, clumped and piled to one side. That is what the next step is for.
2. WDT: break up clumps, even out the bed
WDT stands for Weiss Distribution Technique, named after John Weiss, who described stirring grounds with a thin needle in a Home-Barista forum post in December 2005. Most home grinders produce clumps at espresso fineness, and a clump is dense inside and loose around the edges, so water flows around it instead of through it. Fine needles break the clumps apart and redistribute the coffee so the density is as close to uniform as possible before anything is compressed.
With a dosing funnel on the basket, hold the WDT tool at roughly 45° and start with the needles near the basket wall — the edge of the bed is where channeling most commonly begins. Lower the needles into the lower third of the bed: stirring only the surface achieves nothing, because the dense, clumpy coffee sits at the bottom. Move in slow, small, overlapping circles, from the wall inward and bottom to top, for about 10 to 15 seconds. Finish with light surface passes: the bed should look fluffy and even.
Three mistakes undo the step. Too shallow — needles that never leave the top half leave the bottom clumped. Too fast — vigorous stirring packs some zones and leaves others loose. Pressing down — the needles are not a tamper. And WDT after the tamp is useless — tamping locks in whatever unevenness is already there.
3. Level the bed
After WDT the surface may still mound slightly. Settle it with one or two light taps — the side of the portafilter with your palm, or the portafilter straight down on a mat — to collapse air pockets. Avoid hard vertical banging.
A spinning distribution tool (a leveler) fits here too: it smooths the top 2 to 3 mm flat, but it cannot fix uneven density deeper in the puck — that is WDT’s job. Order: WDT first, leveler second, tamp last.
4. Tamp: once, level, firm
Place the tamper gently on the coffee and let it find its natural resting angle — a tilt introduced at placement gets locked in the moment force is applied. Stand with your shoulder over the basket, elbow at a right angle, wrist straight, and press straight down in one steady motion, then lift straight up. One press only.
5. Clean the rim and brew immediately
Brush stray grounds off the rim and the portafilter ears so the seal against the group head is clean, then lock in and start the shot right away. Do not knock the portafilter after tamping — a knock can crack the puck.
The 30-pound myth, and what actually matters
You have probably heard that perfect espresso needs 30 pounds of tamping pressure. It is the most repeated number in home espresso, and the least important one. The figure is a 1990s café convention: Seattle pioneer David Schomer popularised 30 lb after the earlier standard of 50 lb strained baristas’ wrists. He settled on 30 lb because it was repeatable, not because it made better coffee.
Controlled testing keeps landing in the same place. Socratic Coffee measured shots tamped at 5, 10, 15 and 20 kg, ten shots per setting, and found no significant difference in total dissolved solids. Kaffeemacher repeated the exercise across 150 espressos at 10, 15 and 20 kg and reported the same outcome, while still suggesting at least 6 kg. Grounds reach near-full density at a light press, and 9 bar dwarfs anything your wrist adds — past that plateau, extra force changes nothing.
What actually matters, in order: level — a 2–3° tilt creates a dense side and a loose side, and water finds the loose side within the first second at 9 bar; repeatable — pressing at 8 kg one morning and 18 kg the next changes the puck every time, so pick a pressure and stop thinking about it; fit — a tamper 0.5 mm under your basket’s internal measurement leaves an uncompressed ring at the edge that channels on every shot, so the base should sit roughly 0.2–0.4 mm under; and enough, not more — around 10–18 kg (roughly 20–40 lb) is plenty. If your shots are inconsistent, the fix is almost never “press harder”.
WDT vs distributor vs leveler: what each one does
| Tool | What it does | Depth | Verdict for beginners |
|---|---|---|---|
| WDT tool (fine needles) | Breaks clumps and evens density through the whole bed | Full depth | Buy first — the biggest payoff |
| Spinning distributor / leveler | Smooths the top surface flat at a set depth | Top 2–3 mm | Optional — a surface step, not a fix |
| Tamper | Compresses the prepared bed into a puck | — | Essential — but it must fit your basket |
| Dosing funnel | Keeps grounds in the basket during grinding and WDT | — | Buy with the WDT tool — cheap, stops the mess |
| Puck screen | Thin metal disc that spreads the first water contact and keeps the group cleaner | On top of the puck | Later — modest extraction benefit, real cleanliness benefit |
The confusion costs beginners money: a leveler bought instead of a WDT tool leaves the deep clumps untouched. Buy in the order the coffee flows: distribute deep first, level the surface second, compress last.
At a glance
Start here
Best for clumpy grinds and uneven beds
Nine 0.25/0.3 mm needles · 51–58 mm baskets
Same price as when this guide was published (Nov 17, 2026).
Check price on Amazon
Normcore Magnetic Dosing Funnel V2
Best for keeping grounds in the basket while you stir
Magnetic funnel · pairs with the WDT tool
When this guide was published (Nov 17, 2026): $23.99 at Amazon.
Check price on Amazon
Best for a loose stock tamper and uneven tamps
Spring-loaded · 15/25/30 lb springs · 58.5 mm base
Same price as when this guide was published (Nov 17, 2026).
Check price on Amazon
Can wait
Normcore Ultra-Slim Puck Screen
Best for a cleaner group head — a refinement, not a fix
Ultra-slim stainless mesh disc
Same price as when this guide was published (Nov 17, 2026).
Check price on Amazon
Prices are live from our price tracker and checked against the retailer’s listing; a rating appears only when it was verified the same day. Prices move — the button shows today’s number.
What to buy first — and what can wait
A tool earns its place only if it fixes a problem you actually have.
- Do you own a 0.1 g scale? If not, that comes before every tool on this page — our scale guide picks one.
- Does your grinder clump? Grind a dose and look for visible lumps or a pile leaning to one side. If yes, a WDT tool is the cheapest consistency upgrade in espresso.
- Do grounds end up on the counter? If yes, add a dosing funnel — it pairs with the WDT tool and costs less than a bag of beans.
- Does your tamper fit? Check the base against your basket’s internal diameter (0.2–0.4 mm under). If the stock tamper is loose, a spring-loaded tamper that clicks at a set pressure removes two variables at once.
- Are your shots already consistent? If yes, stop buying. A puck screen, a precision basket, and a bottomless portafilter are diagnosis tools — buy them when you hit a specific limit.
The four tools below are the ones we track, so their prices are live from our price tracker — the price shown is today’s, and a rating appears only when it was verified the same day.
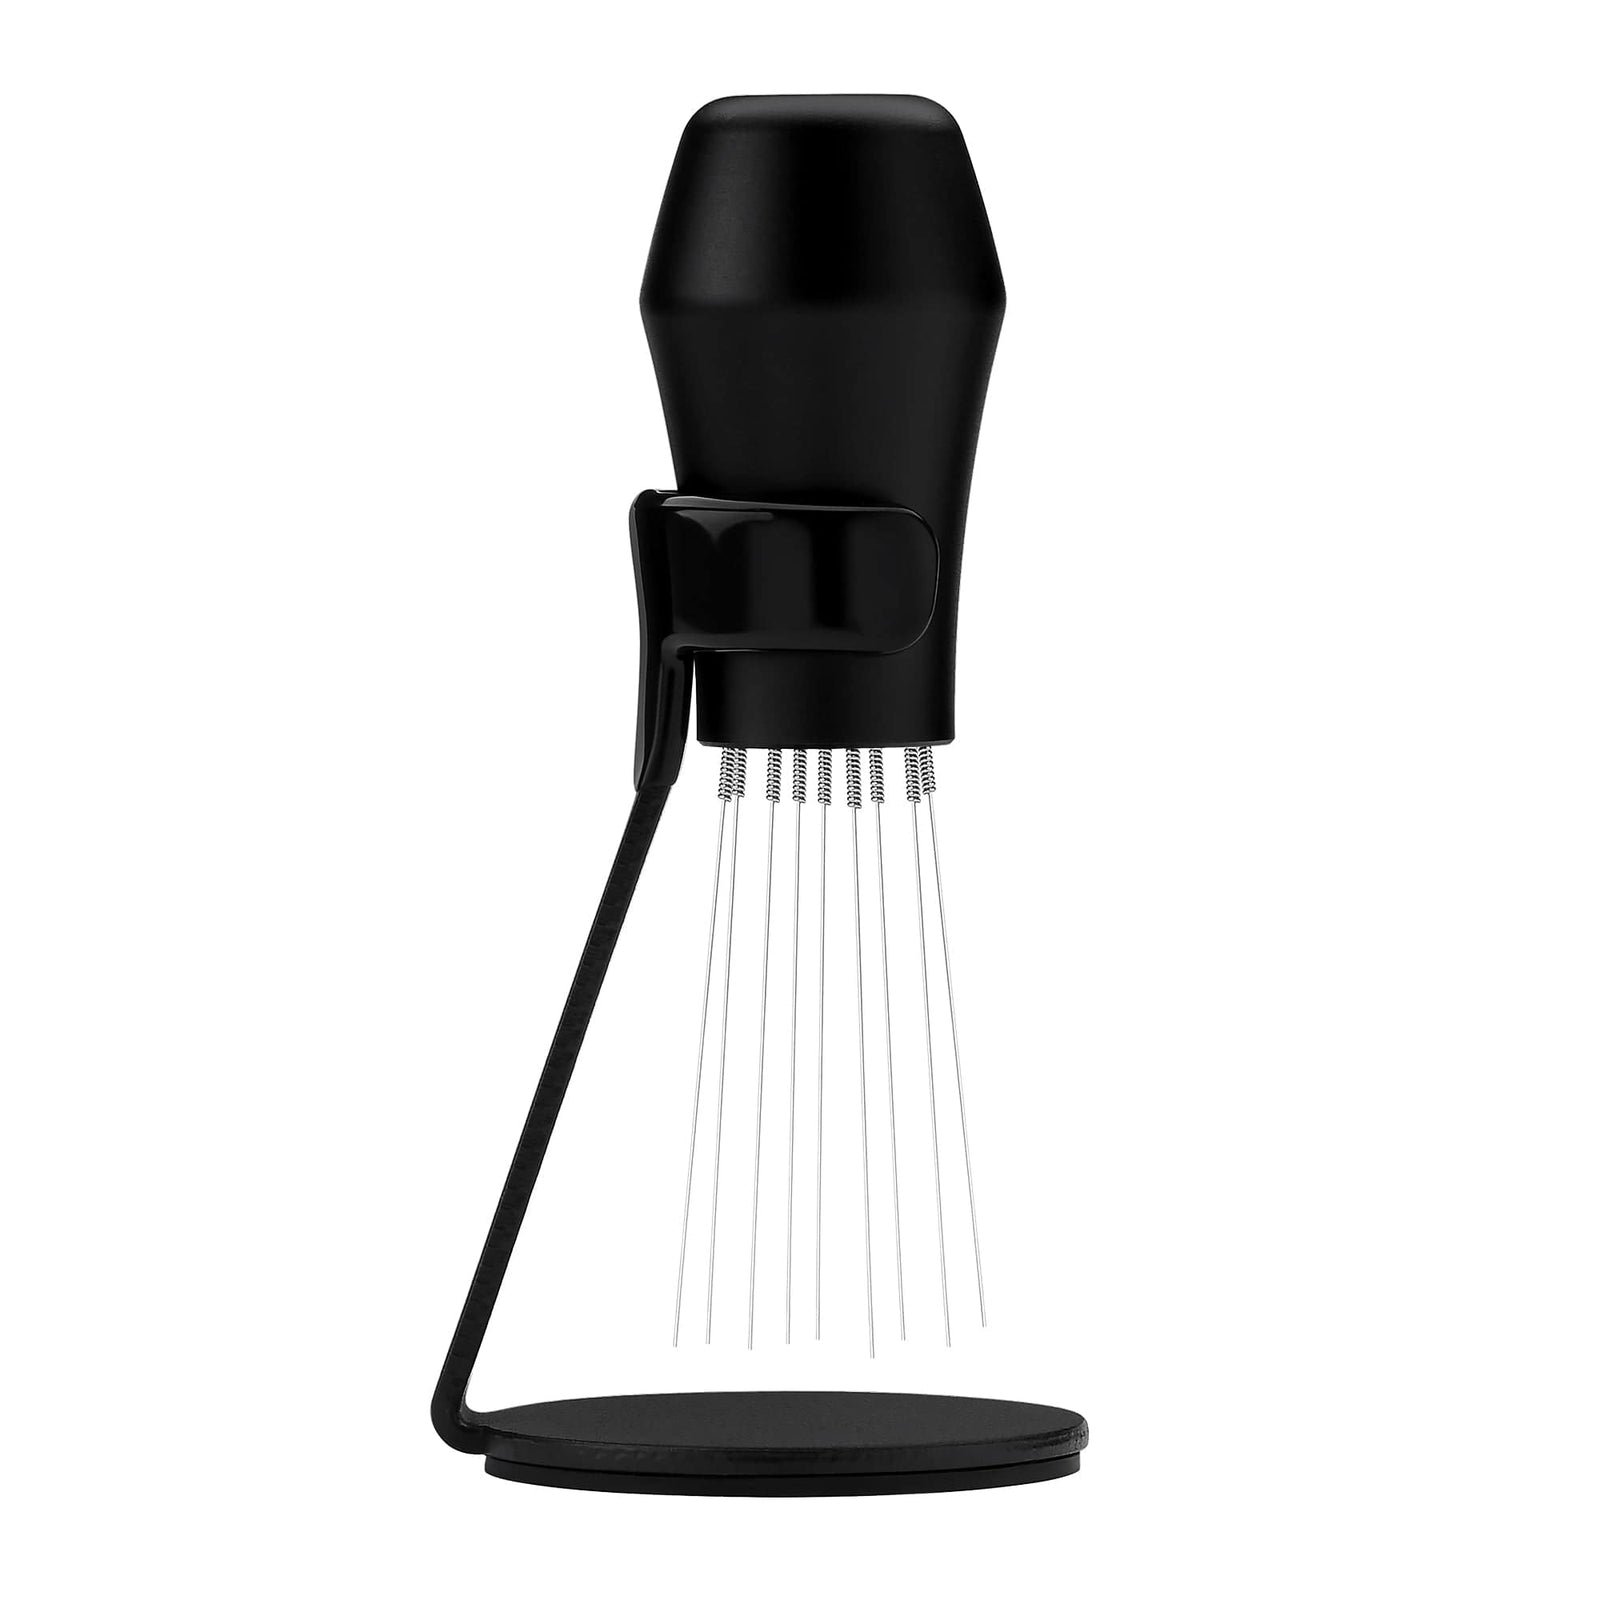
Normcore WDT Tool V3
Nine fine needles that break up clumps and even out the bed before you tamp.
Key details
- Nine 304 stainless steel needles in two gauges — 0.25 mm and 0.3 mm, spares of each included
- Anodized aluminum handle with a walnut stand
- Works in 51, 54 and 58 mm baskets
What we like
- Needles thread between particles instead of pushing the bed sideways
- The cheapest consistency upgrade in espresso
Watch out for
- The very fine needles can bend if you are rough with them
Same price as when this guide was published (Nov 17, 2026).
Nine 304 stainless steel needles in two gauges — 0.25 mm and 0.3 mm, with spares of each — in an anodized aluminum handle with a walnut stand. At 0.25–0.3 mm the needles thread between particles instead of pushing the bed sideways. It works in 51, 54 and 58 mm baskets. The honest limit: the very fine needles can bend if you are rough with them.

Normcore Magnetic Dosing Funnel V2
A magnetic funnel that keeps grounds in the basket while you grind and stir.
Key details
- Magnetic — sits on top of the basket while you grind and stir
- Made to pair with the WDT tool: stirring stays in the basket
- Costs less than a bag of beans
What we like
- Makes WDT practical — no grounds flicked over the rim
When this guide was published (Nov 17, 2026): $23.99 at Amazon.
A magnetic funnel that sits on top of the basket while you grind and stir. Its job is unglamorous — it keeps grounds in the basket — but it is what makes WDT practical: without it, stirring flicks grounds over the rim. Buy it with the WDT tool: the two are a pair.
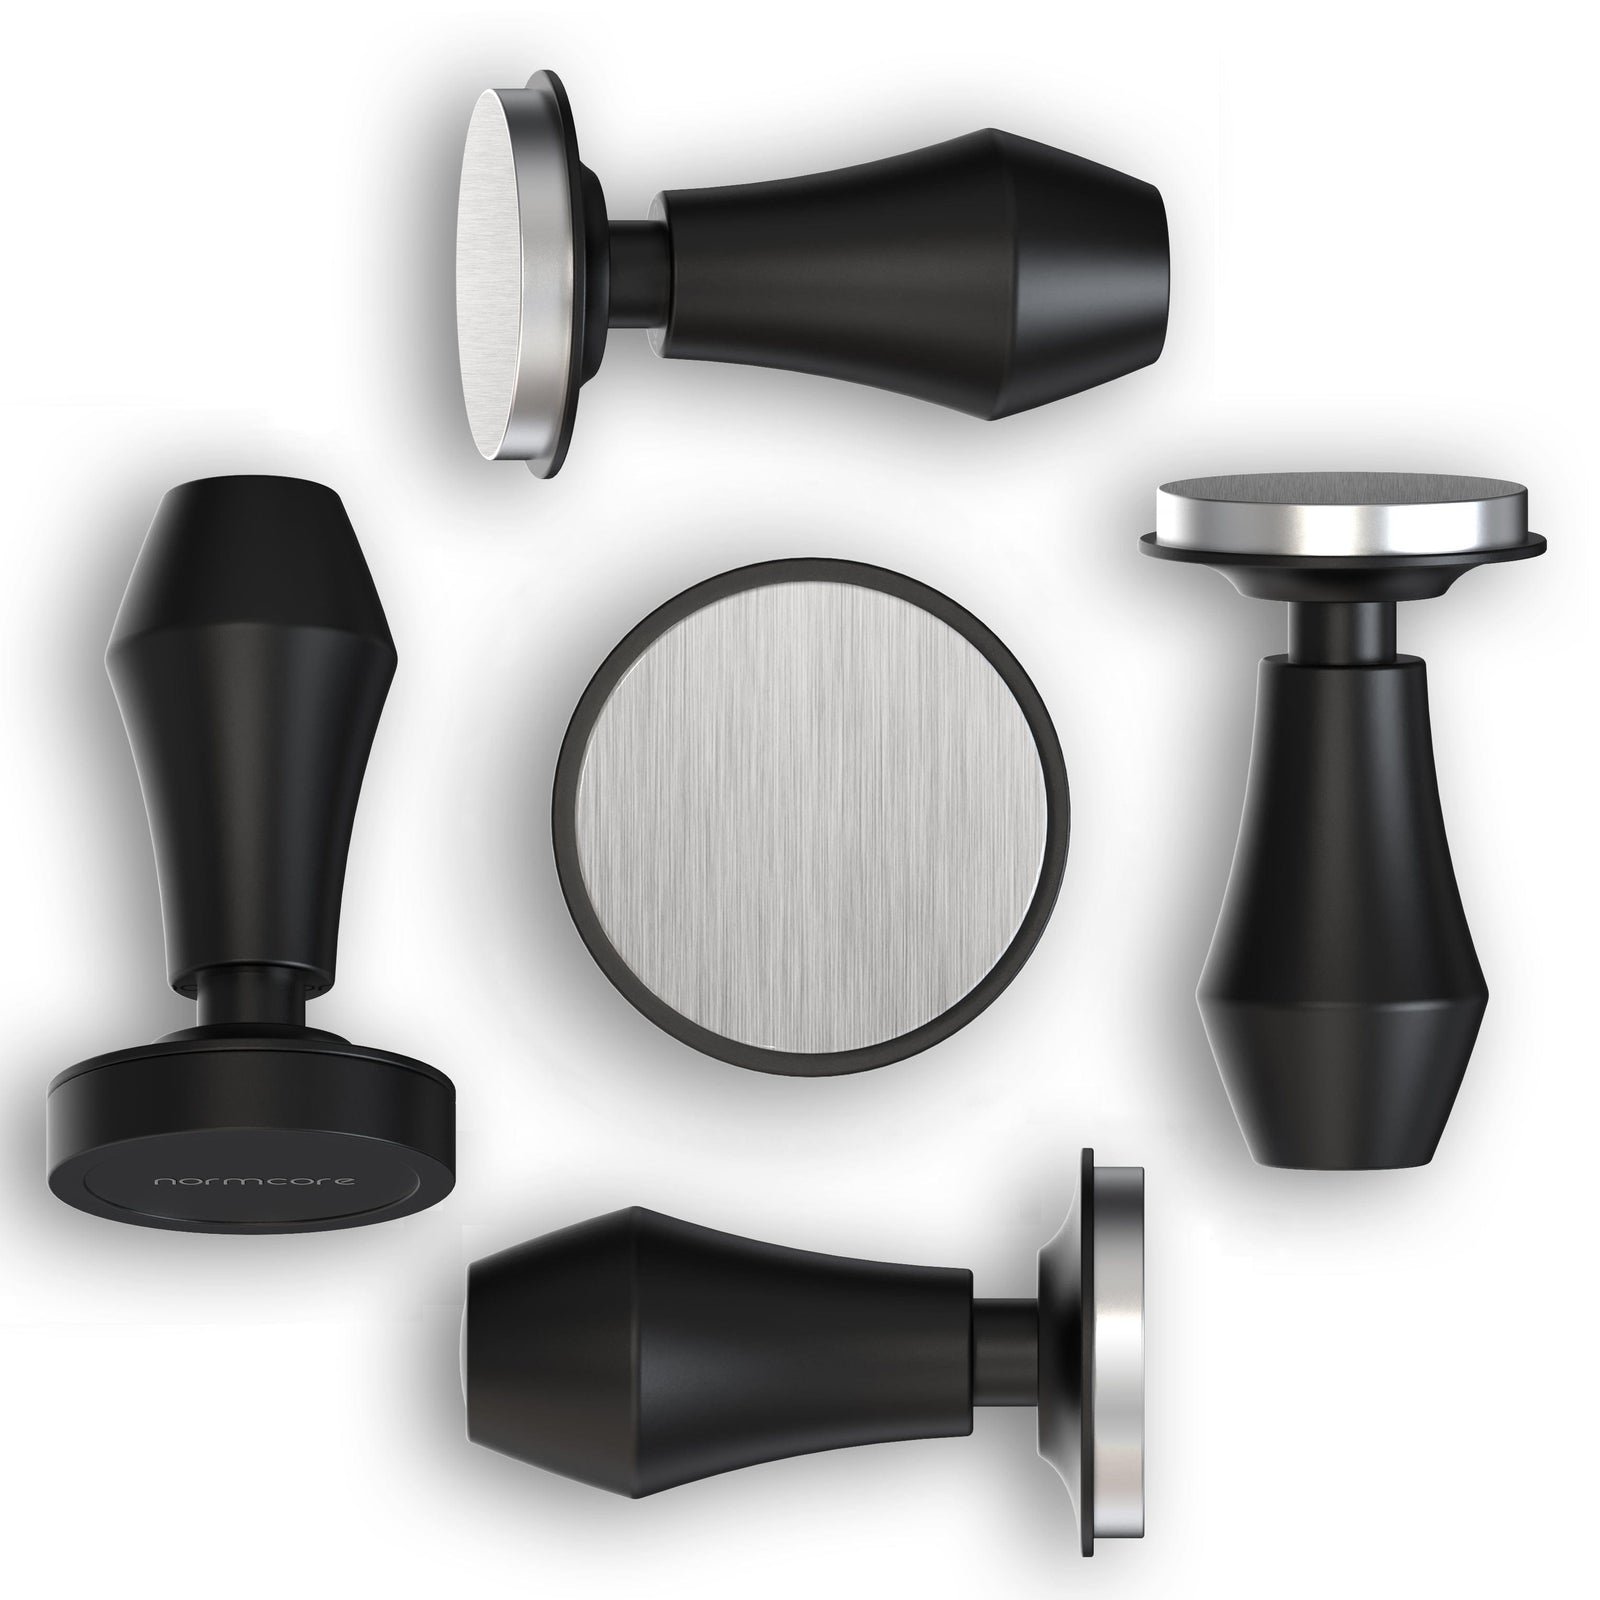
Normcore V4 Tamper
A spring-loaded tamper that clicks at the same pressure, flat, every shot.
Key details
- Spring-loaded 304 stainless steel flat base
- Three interchangeable springs — 15, 25 and 30 lb
- Leveling plate keeps the press flat
- 58.5 mm base for standard 58 mm baskets
What we like
- The spring clicks at a set pressure, so the force is the same every shot
- Removes two variables at once: pressure and level
Watch out for
- Check your basket’s internal diameter first
- 54 mm Breville owners need the 53.3 mm version instead
Same price as when this guide was published (Nov 17, 2026).
A spring-loaded tamper with a 304 stainless steel flat base and three interchangeable springs — 15, 25 and 30 lb — plus a leveling plate that keeps the press flat. The spring clicks at a set pressure, so the force is the same every shot. The 58.5 mm base fits standard 58 mm baskets; check your basket’s internal diameter first. If your machine is a 54 mm Breville, buy the 53.3 mm version instead.

Normcore Ultra-Slim Puck Screen
A thin mesh disc that evens out first water contact and keeps the group head cleaner.
Key details
- Thin stainless mesh disc, sits on top of the tamped puck
- Spreads the first water contact more evenly
- Keeps the group head cleaner between backflushes
What we like
- More even first water contact
- A cleaner group head between backflushes
Watch out for
- The extraction benefit is real but modest — a refinement, not a fix
Same price as when this guide was published (Nov 17, 2026).
A thin stainless mesh disc that sits on top of the tamped puck before you lock in. It spreads the first water contact more evenly and keeps the group head cleaner between backflushes. The extraction benefit is real but modest — a refinement, not a fix.
When to buy, from our own tracker
These are small tools with stable prices — none of them is a sale-waiting decision. The lowest price we have tracked for the WDT Tool V3 is $29.99, on November 7, 2026, also its current tracked price, so there is no dip to wait for. Buy the funnel and WDT tool the week you start.
When shots still channel
Good prep removes most channeling. When a shot still sprays or swings in time at identical settings, diagnose in order — one change at a time. Sour AND bitter in the same sip means channeling: stop adjusting the grind — grinding finer makes channels worse — and go back to distribution (full diagnosis in our channeling guide). Fast, thin, sour is usually grind: one click finer (see the dial-in guide). Slow, bitter, drying is usually grind too fine or dose too high: one click coarser.
What you can skip
Not every puck-prep accessory earns its counter space in the first month. A spinning leveler can wait until WDT is habit; a precision basket until grind and dose are stable. A $50 machined-aluminum WDT tool does the same job as a $15 one with properly thin needles.
One thing not to skip: the same order every time. Dose, stir, level, tamp, clean, brew — in that order, the same way, until you stop thinking about it.
Frequently asked questions
What is puck prep in espresso?
Everything you do to the grounds in the portafilter between grinding and brewing: dose, break up clumps with a WDT tool, level the bed, tamp evenly, clean the rim, then lock in and extract. Its job is even density.
Do I need a WDT tool for espresso?
Not strictly — a straightened paperclip does the same job while you learn. But if your grinder clumps, a WDT tool is the cheapest consistency upgrade in espresso.
How do you do WDT correctly?
Use needles 0.3–0.4 mm thick. Hold the tool at roughly 45°, start at the basket wall, lower the needles into the lower third of the bed, and move in slow, small, overlapping circles for 10 to 15 seconds. No downward pressure.
How hard should I tamp espresso?
Somewhere around 10–18 kg (roughly 20–40 lb) is plenty — the exact number matters far less than repeating it. Controlled tests (Socratic Coffee at 5–20 kg; Kaffeemacher, 150 espressos at 10–20 kg) found no meaningful difference across that range. What matters is a level tamp, the same pressure every time, and a tamper that fits.
What order do puck prep steps go in?
Dose, WDT, level, tamp, clean the rim, brew. Distribution always comes before tamping. A spinning leveler goes between WDT and the tamp; a puck screen goes on after the tamp.
Do I need a dosing funnel?
Not to make good espresso, but yes once WDT is part of your routine: the funnel keeps grounds in the basket while you stir. It pairs directly with the WDT tool.
Is a puck screen worth it?
For most beginners, not yet. A puck screen spreads the first water contact more evenly and keeps the group head cleaner, but the extraction benefit is modest and it fixes nothing if distribution or tamp is off.
What is the difference between a WDT tool and a distributor?
A WDT tool stirs the grounds with fine needles through the full depth of the bed. A distributor (leveler) spins on the surface and smooths only the top 2–3 mm flat. WDT first, leveler second, tamp last — a leveler is never a substitute for WDT.
Can I do puck prep without buying tools?
Yes, for the core of it. A straightened paperclip does WDT; a light palm tap levels the bed; your stock tamper works if it fits. What you cannot improvise is the scale — dose by weight needs a 0.1 g scale.
Why does my espresso taste sour and bitter at the same time?
That combination is the signature of channeling: water found a weak path through the puck, over-extracting along it while the rest under-extracted. It is a puck-prep problem, not a grind problem — distribute, tamp level, check the dose.
More guides live in our Learn & Fix section.